
 Deutsch (Deutschland)
  Español (España)
  Français (France)
  English (United Kingdom)
 Installation and Setup
Installation of TipTicker on your broadcasting system and initial setup to start using TipTicker.
Add Images to your design ... the easy way!
There is an easy and convenient way to add one or more images to your TTDesign:
From the main menu of TipTicker select item "Easy Add Image to Design".

The Easy-Add-Image-Wizard will guide you through the process of adding images to your TTDesign.

Click on button Add Image ...
The following file dialog will help you to navigate through your folder structure. Because you might have stored some images found in Internet, it starts in your Downloads folder ...
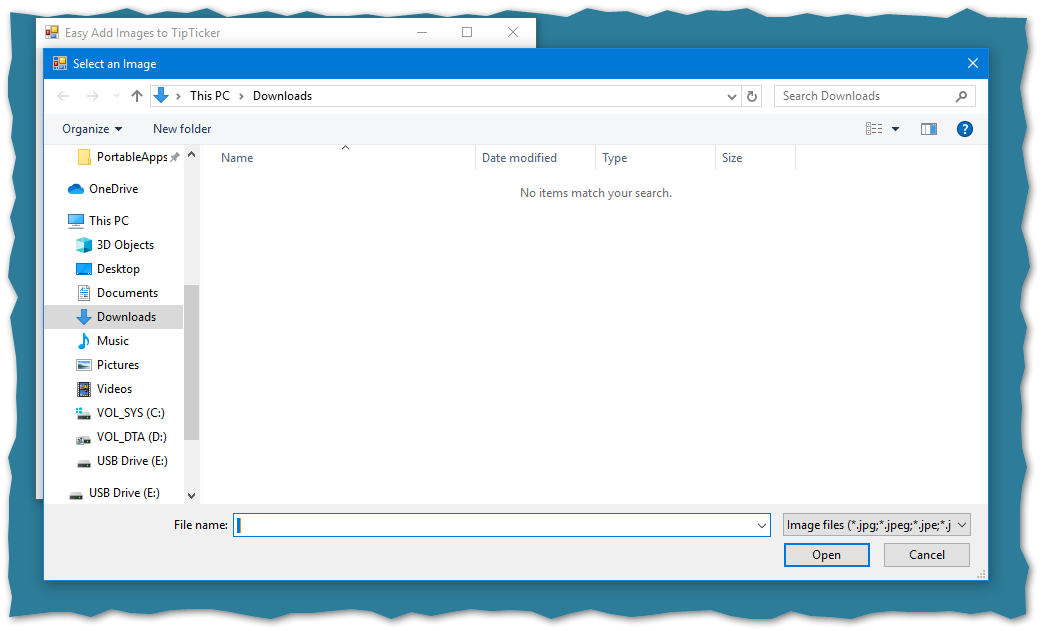
You can navigate to every location on your PC or network to find the desired image.
TipTicker delivers some sample pictures within its setup. You will find these in your Documents folder. The images are collected in the folder samplepics.
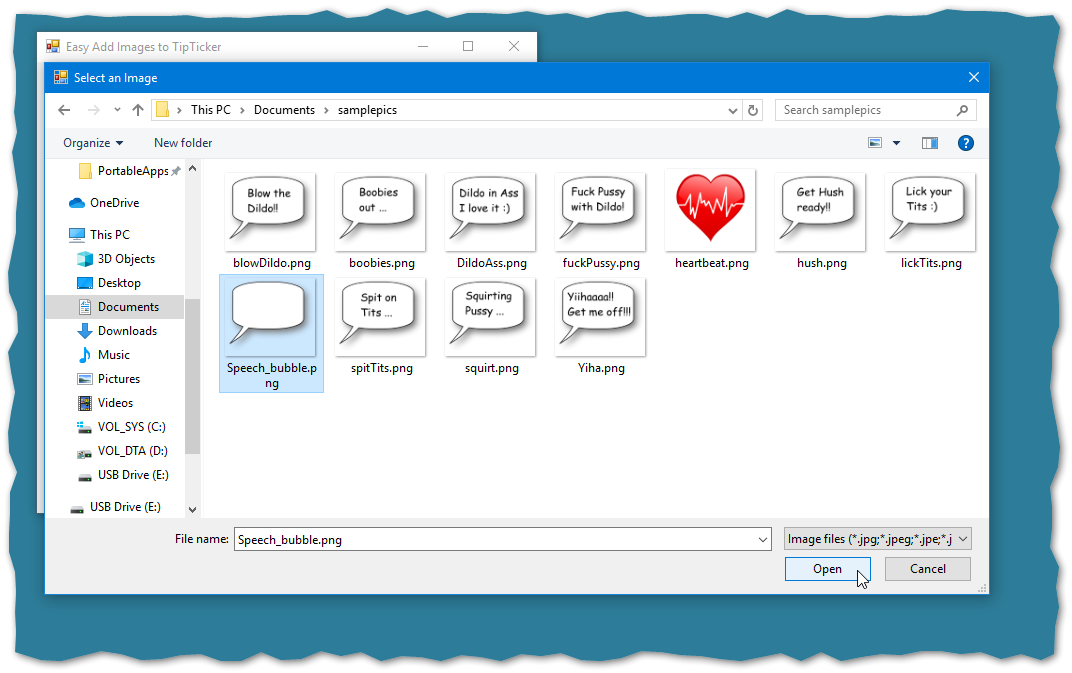
We selected Speech_bubble.png ...
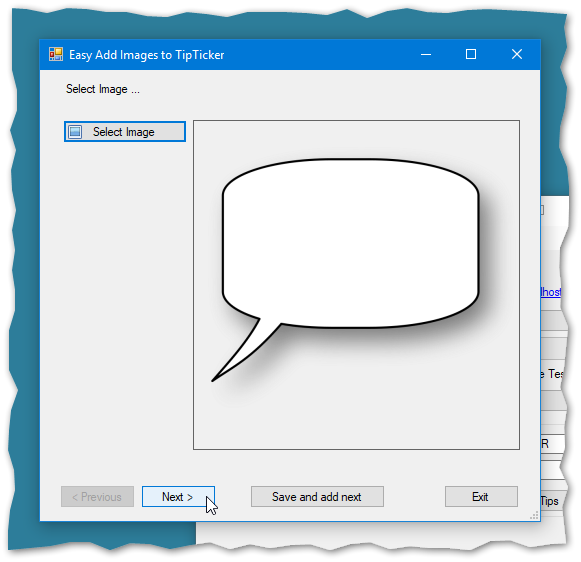
You can check if you have selected the right picture in the preview aerea of the wizard.
Click on button Next ...
Now you are able to set:
- Position on stream
- Opacitiy
- Tip range
- Timing (in milli seconds)
In this example we show a speech bubble on the top-left corner of the stream, it has an opacity of 0.5 - so the background is somewhat shimmering through, the show-up of the image will happen if someone tips an amount between 1 and 14 tokens.

Click on button Save and add next ...
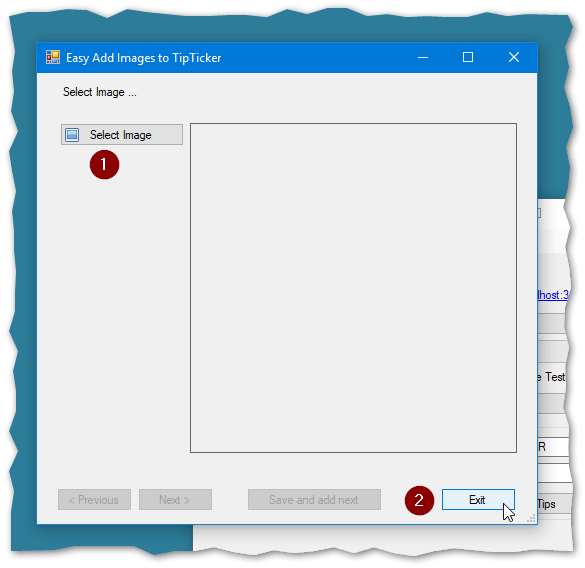
Now you can decide if you want to (1) add another image or if you want to (2) exit the wizard.
If you click the button Exit, you will be able to save the changes (Yes), discard the changes (No) or (Cancel) to return to the wizard.
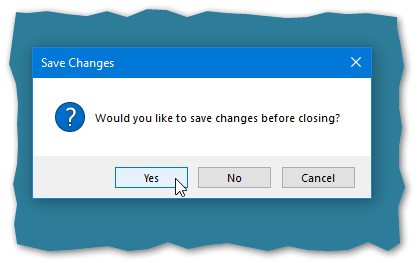
Exit dialog ...
In Designer screen you can check the result of the work of the wizard:
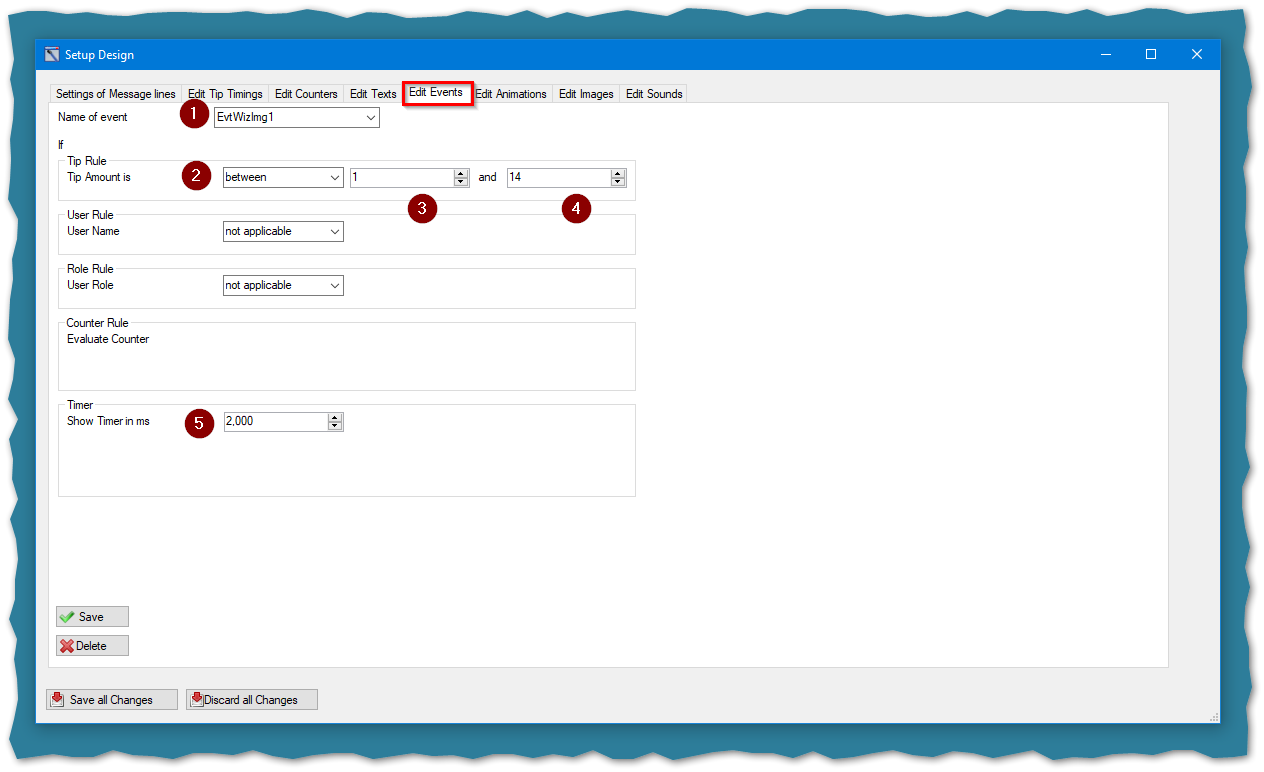
In tab "Edit Events" you will find the following settings:
- A new entry in the dropdown "Name of Event"
- A Tip Rule
- Lower Tip amount
- Upper Tip amount
- Show Timer
You are free to adjust and fine tune all values to your liking.
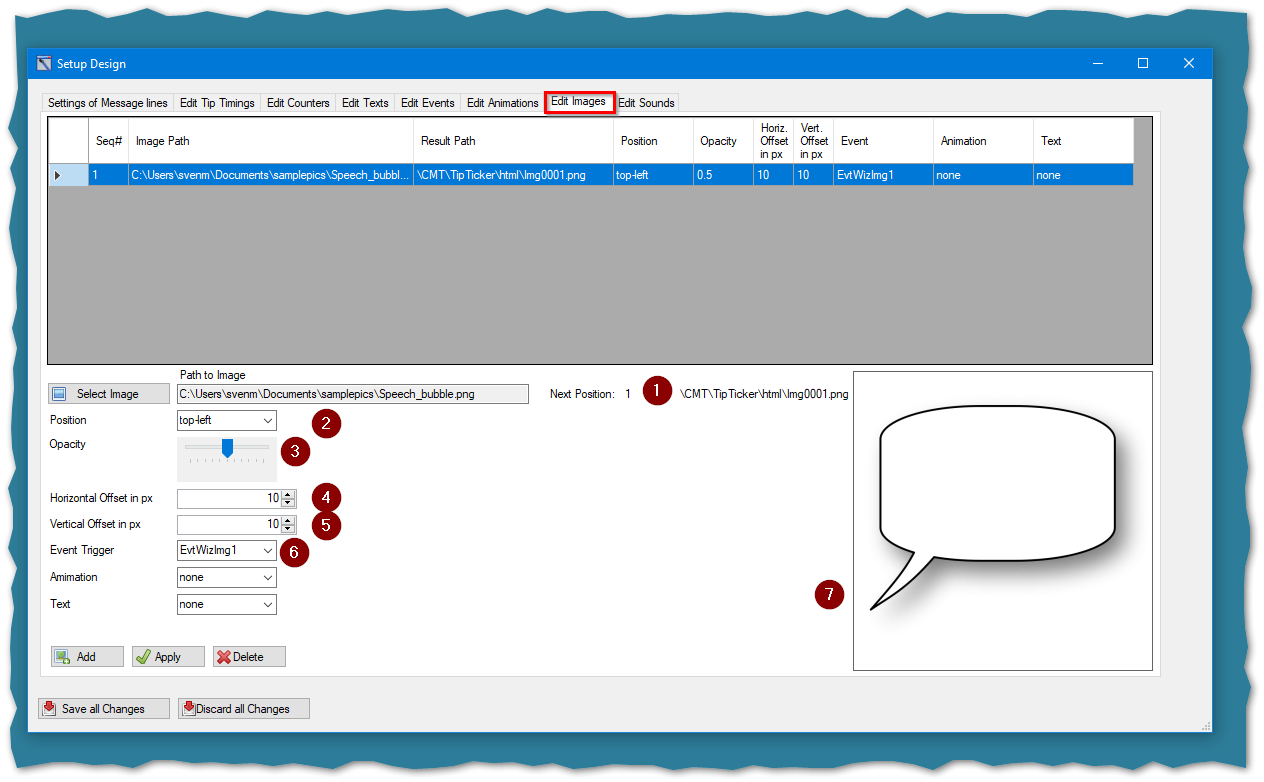
In Tab "Edit Images" you can inspect some other aspects of settings made by the wizard:
- Name of the resulting Image file in the home directory of the integrated webserver (this value can't be changed and is essential for the functionality.
- The position of the image in stream
- The Opacity
- Horizontal offset (here, how many pixels from the left border of the stream ... e.g. 10 pixels)
- Vertical offset (here, how many pixels from the top border of the stream ... e.g. 10 pixels)
- Event Trigger (see the name of the event in the tab Edit Events)
- A preview of the image
Now you will be able to easily add images and adjust the settings afterwards.
First steps needed to get TipTicker up and running, register alias
After the first start of TipTicker there are some tasks to complete to get it functional:
- Register your room (screen name/nickname in Chaturbate)
- Edit or select your design (we call it TipTicker Design or TTDesign)
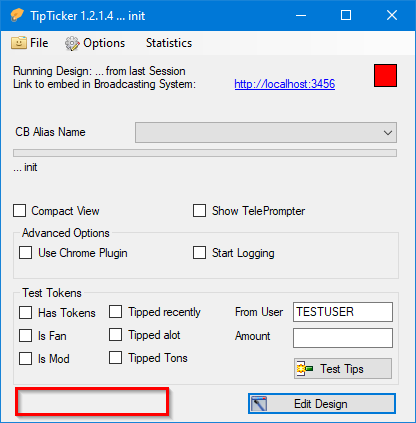
After starting TipTicker it will look like this:
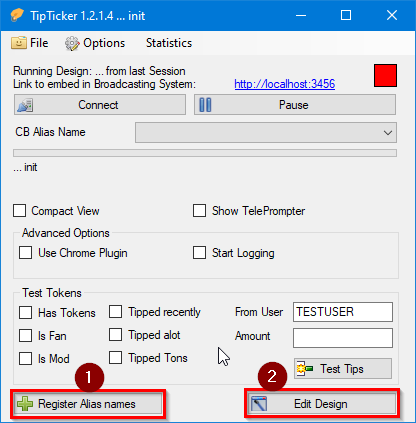
Step 1 is Register Alias name. Just click on that button and you get the following dialog ...

Find your alias name at chaturbate.com (example below) and insert it in field (1). After clicking on the Add-button the alias gets registered.

Here you find your alias name. Please copy only the marked area or type it in the appropriate field. Use only lower case letters.
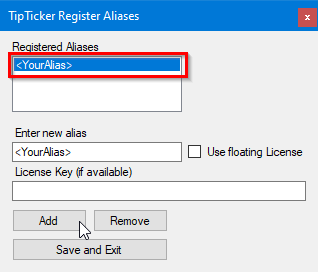
After clicking on the Add-button your alias got registered.
A click on Save and Exit closes this dialog.
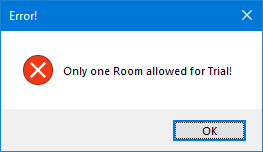
If you try to register more than one room in Trial mode you will get an error message. During trial only one alias is permitted. If you want to try it using more than one alias, you need to remove the already registered alias first.
After registering your alias, the corresponding button is no longer available. To edit the alias list use the options available in the File menu.
Don't be shy, give it a try!
How to install TipTicker
After
you need to install the application on your broadcasting system.
Locate the setup file in your downloads folder:
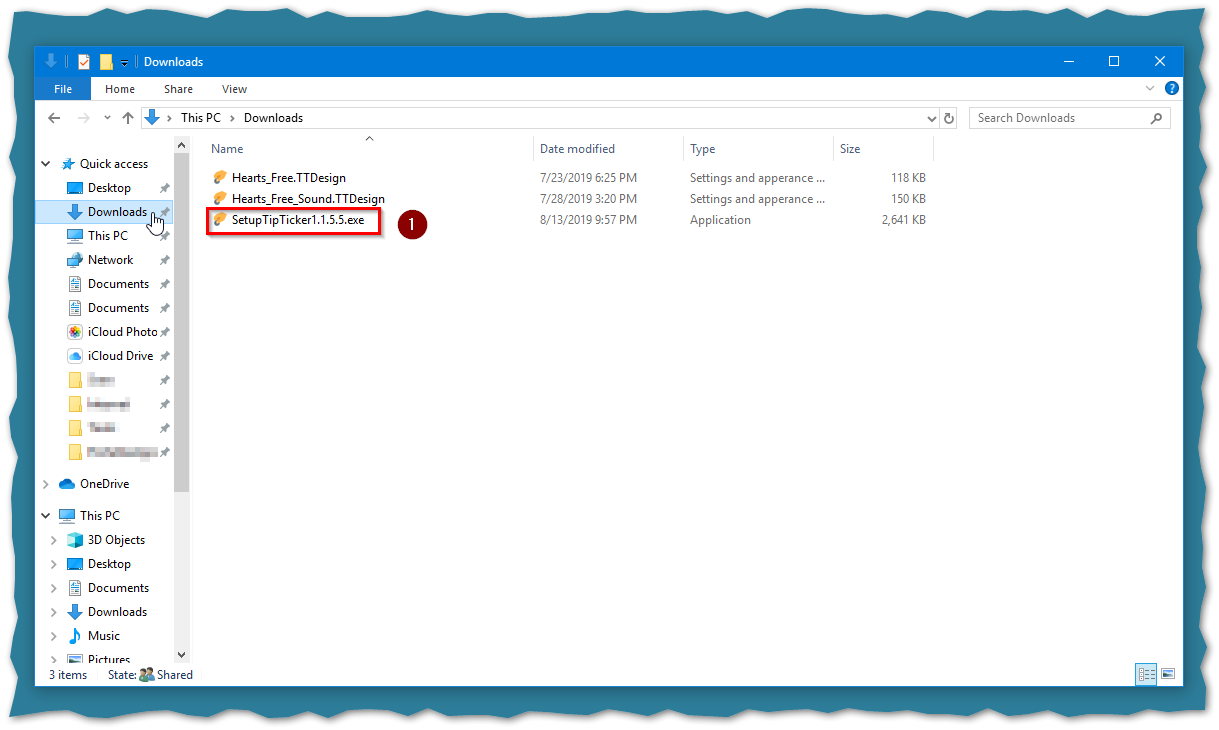
All Versions have a name beginning with TipTicker followed by version numbers.
Double-click on the file to execute the installation routine.
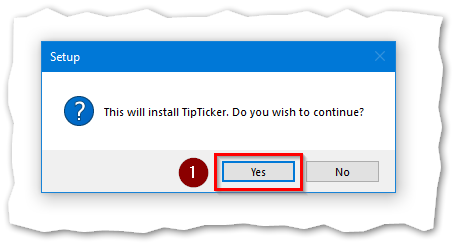
Click on button Yes to start installation.
During installation you will be prompted by some screens.
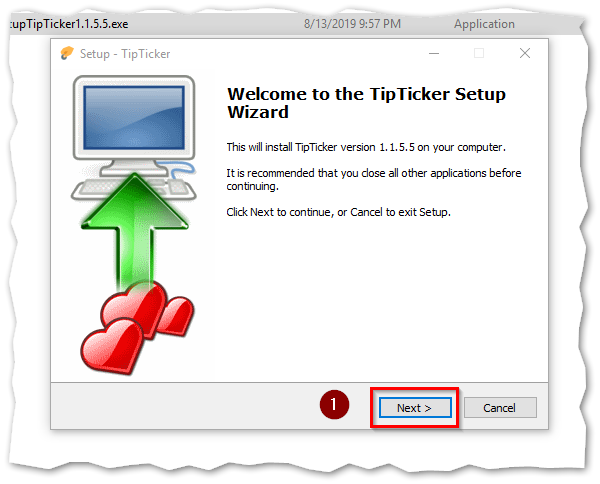
Welcome screen ...

Accept the License Agreement and click on button next ...
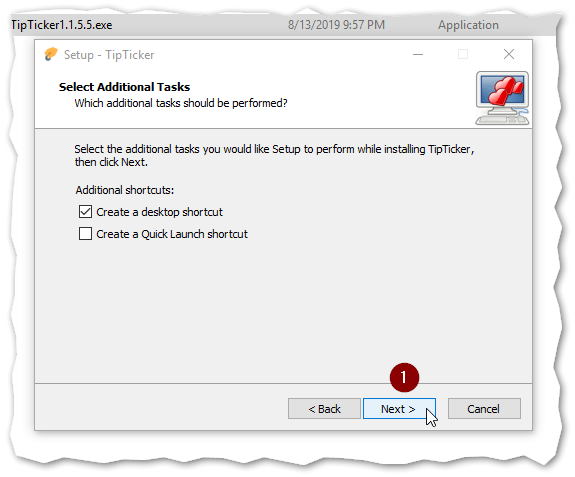
Decide to create a desktop shortcut and/or a Quick Launch shortcut (Windows 7 only) ...
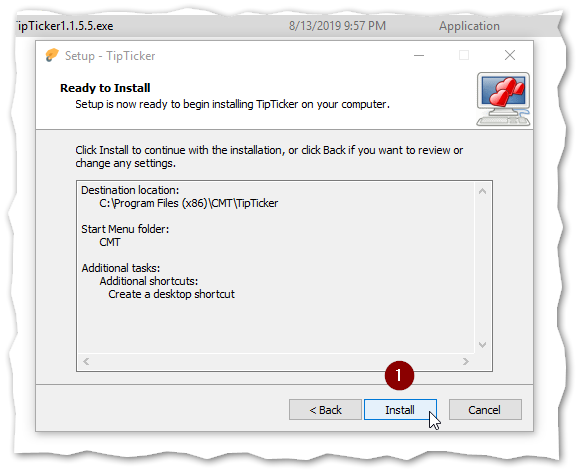
Summary screen, click on button Install ...
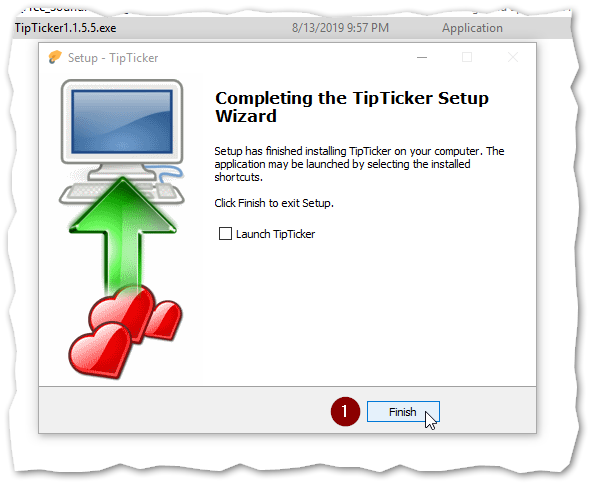
After a few seconds the installation is complete, click on button finish.
A TipTicker icon is created on your desktop. Double click on it to start the application.

The above entries will be created in your start menu.
Under folder CMT you will find the following shortcuts:
- TipTicker (starts TipTicker)
- TipTicker on the Web (Visit our site)
- Uninstall TipTicker (removes TipTicker from your system)
Setup has been completed.